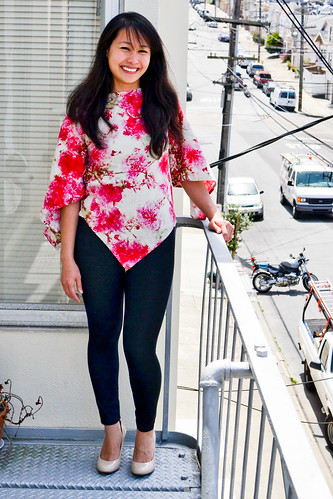
Showing posts with label clothes. Show all posts

DIY triangle shirt

One of my babies passed away a week ago. Since then, I've thrown myself into sewing as a distraction. Sometimes not having anyone to talk to or hug gets pretty lonely. Sewing helps keep me busy. Here's a triangle shirt I made for my sister. I saw her pin it on Pinterest and thought it wasn't too hard to make.

She's so purdyyy.


Here's what I did. It's not a thorough walk through, but I wanted to show how I figured this shirt out. I didn't use a tutorial so all my projects are mostly just me figuring these out.

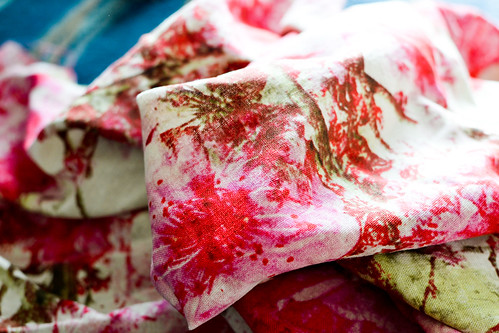
I used a jersey knit for the inside and a chiffon for the flowy triangle.

For the inside:
Cut a tank top that fits you. I used half a yard because my sister is petite. It fits close to her body. I think making it looser would look cuter so use more fabric if you're not cheap like me. I used a tank top that fits her and used it to cut a new one. Hem and sew everything together EXCEPT for the neckline.


For the outside:
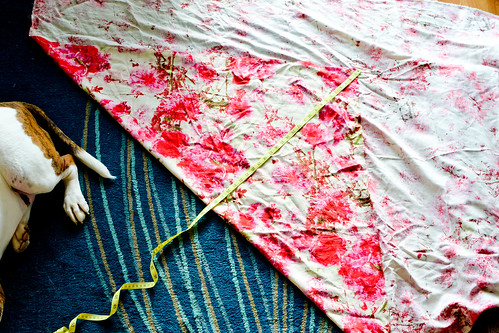
Get a piece of rectangular fabric and fold in half. Make sure that it's 2x longer than your desired length. For example, if you need the shirt to be 30 inches long (from shoulders to triangle tip at bottom), double that and get 60 inches.


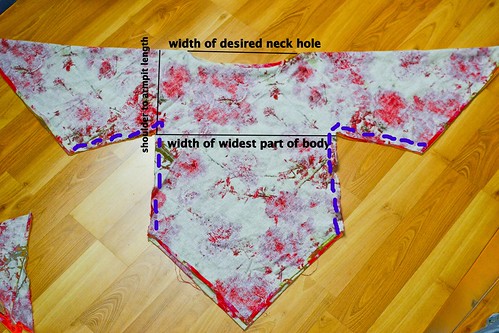
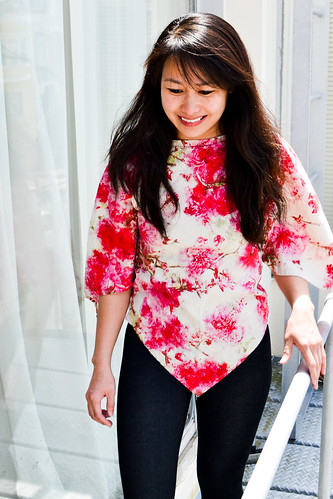
Mark the middle of the fabric at the bottom (from the left side to the right side). That's where the tip of the bottom of the shirt will be. Draw a triangle from the top left corner to the bottom tip to the right top corner, as shown in the drawing. Lay the tank top under the triangle where you want. I placed it slightly to the right because I wanted an asymmetrical shirt. Cut a neckline into the triangle exactly like your tank top.


Combine:
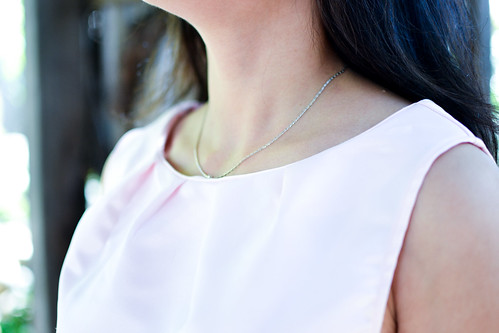
Sew the triangle and tank top together at the neckline. Remember to hem the triangle fabric as well.


Triangle Shirt Tutorial


20140425-DSC_0541
I was standing in line for the cutting table and saw this fabric behind the table. I wanted it. I didn't care how much it would cost. I didn't care what it'd feel like. I didn't care, I wanted it. So I bought it. Love at first sight. It turned out that the fabric is a loose linen...kinda like a potato sack. Just kidding, not really, but it's not satin.

Now what can I make with it? I've always wanted to do some sort of flowy top like this scarf top with kimono sleeve. However, I had an idea that I wanted to do it with a rectangular shape. Drawing inspirations from the scarf top, I created the triangle shirt!

20140425-DSC_0548
I measured from my clavicle (that's the collar bone) down to where I wanted the shirt to end which was 26 inches. That became the height of my isosceles triangle. Incidentally, this made the base of the triangle as long as my arm span which worked out like a miracle! I added one more inch making it a total of 27 inches to give room for hemming and finishing.
Because I'm not a true a seamstress and I'm very lazy, I didn't take the time to iron the fabric. However, this fabric is very forgiving so I got away with it.

20140425-DSC_0550
Shit I had to deal with. He was not pooping, by the way.

20140430-shirt-dimensions
The next three cuts involved:

- The neck hole (just a slit) about 11 inches wide.
- I measured the widest part of my body which came out to be my butt, divided it in half and made it the width of the body of the shirt.
- The distance from the top of my shoulder to about 3" below my armpit determined the size of the arm openings.

Originally, I was just going to cut one cut from bottom of the arm opening straight down but that gave me too much sleeves that they didn't drape neatly. So I decided to cut out a triangle between the body part and the sleeve part. This was mostly guess work of how much I wanted to take off.

After that, it was just stitching body and arms closed and hemming all edges.

20140430-DSC_0598
Finished!

20140430-DSC_0602
Yes, you can see Gizmo in the reflection.

20140430-DSC_0609
I love that I can turn the shirt and wear it "backward" for a different print placement. I tried wearing it with a belt and it look that great on me. However, I think if I were to make it again, I wouldn't try making it with a waist instead of straight down.

Thank you Priyanka for the photos of me.

My Very First Garment!


One fine day, I decided to jump headfirst into sewing a dress. I always said that I'll learn to sew clothes ever since high school and it has been at 16 years since I first started high school. So I grew some balls ovaries and bought a pattern, specifically this one by Simplicity. I also bought a cheap remnant silk piece because I figured my first project shouldn't be wasted on really expensive materials.

After many hours of cutting the pattern, laying out the pieces to fit my tiny remnant piece, learning to sew a french seam (because I don't have a serger), adjusting the pattern because I have a short torso and short in general, I created this monster!

Behold!
943694_10102302218717043_1531021449_n


Many more hours after this were devoted to pinning, ripping out seams, restitching seams, inserting zippers, hemming, and ironing. I also ran into a bunch of mishaps.

First problem: the zipper I bought previously was too short, I had to go buy a longer one or else it wouldn't open enough for my giant butt to wiggle in.

Second problem: I was an idiot and didn't buy an invisible zipper so the back is ugly. Please forgive this mistake, master of all sewing! I will always wear this dress with my hair down so people can't see my mistake.

Third problem: I didn't get bias tape and didn't spend the time to research it so the edges on the arm holes are wrinkly.

Fourth problem: I forgot to compensate for my itty bitty titties so I ended up with a lot of room in the bust area. I tried to fix this by making the back a bit smaller but probably will need to stuff my bra for it to look correct.

Fifth problem: My craftmanship resembles that of a 5-year-old. But soon, it will increase to the level of Forever21 clothes for sure!

If the previous five problems are overlooked, the dress is great. Tada! 


Close up of the bow my sister tied for me.

20130811-DSC_8453


Close up of the neck.
20130811-DSC_8454


Here's me looking so happy to finish my first ever wearable project!

20130811-DSC_8449


Lessons learned:
1. Shouldn't have try to make such a structured dress for the first time.
2. Shouldn't use thick silk because everything was hard and bulky.
3. Shouldn't have use a light and solid color since it was very hard to hide mistakes. My sister said a floral print fabric would work a lot better.
4. Making clothes is really fun!