Triangle Shirt Tutorial


20140425-DSC_0541
I was standing in line for the cutting table and saw this fabric behind the table. I wanted it. I didn't care how much it would cost. I didn't care what it'd feel like. I didn't care, I wanted it. So I bought it. Love at first sight. It turned out that the fabric is a loose linen...kinda like a potato sack. Just kidding, not really, but it's not satin.

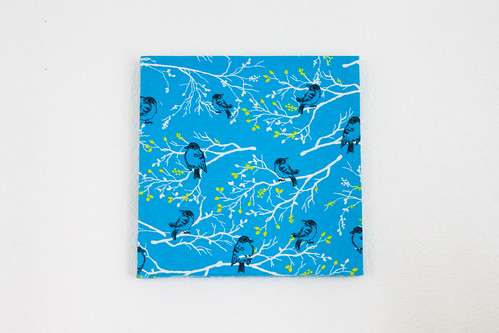
Now what can I make with it? I've always wanted to do some sort of flowy top like this scarf top with kimono sleeve. However, I had an idea that I wanted to do it with a rectangular shape. Drawing inspirations from the scarf top, I created the triangle shirt!

20140425-DSC_0548
I measured from my clavicle (that's the collar bone) down to where I wanted the shirt to end which was 26 inches. That became the height of my isosceles triangle. Incidentally, this made the base of the triangle as long as my arm span which worked out like a miracle! I added one more inch making it a total of 27 inches to give room for hemming and finishing.
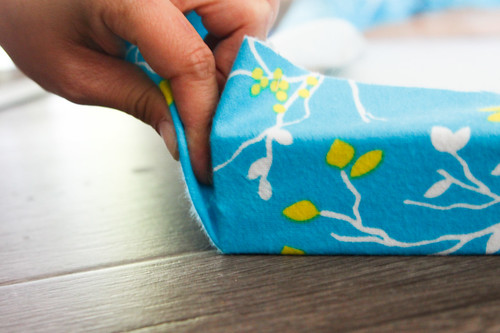
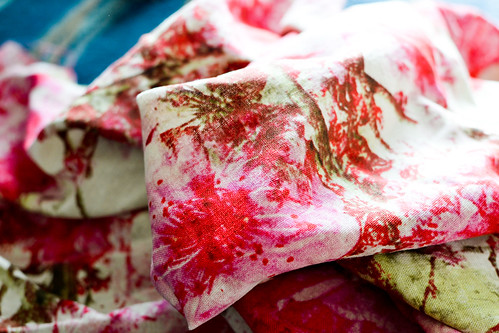
Because I'm not a true a seamstress and I'm very lazy, I didn't take the time to iron the fabric. However, this fabric is very forgiving so I got away with it.

20140425-DSC_0550
Shit I had to deal with. He was not pooping, by the way.

20140430-shirt-dimensions
The next three cuts involved:

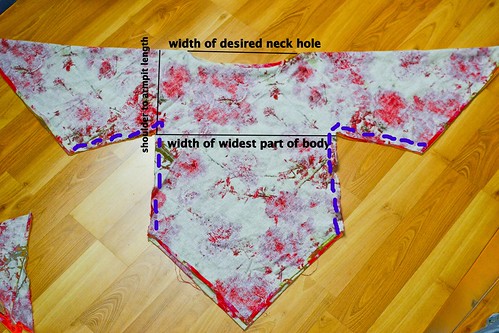
- The neck hole (just a slit) about 11 inches wide.
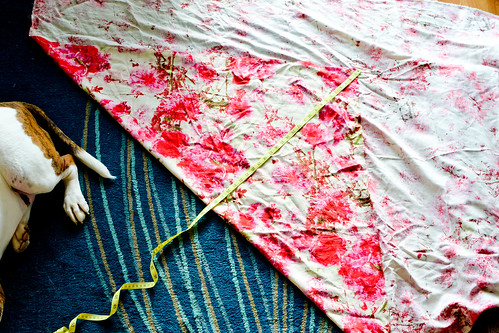
- I measured the widest part of my body which came out to be my butt, divided it in half and made it the width of the body of the shirt.
- The distance from the top of my shoulder to about 3" below my armpit determined the size of the arm openings.

Originally, I was just going to cut one cut from bottom of the arm opening straight down but that gave me too much sleeves that they didn't drape neatly. So I decided to cut out a triangle between the body part and the sleeve part. This was mostly guess work of how much I wanted to take off.

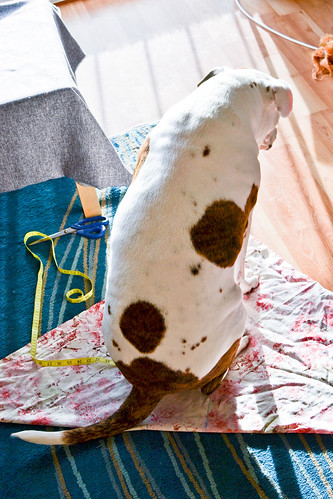
After that, it was just stitching body and arms closed and hemming all edges.

20140430-DSC_0598
Finished!

20140430-DSC_0602
Yes, you can see Gizmo in the reflection.

20140430-DSC_0609
I love that I can turn the shirt and wear it "backward" for a different print placement. I tried wearing it with a belt and it look that great on me. However, I think if I were to make it again, I wouldn't try making it with a waist instead of straight down.

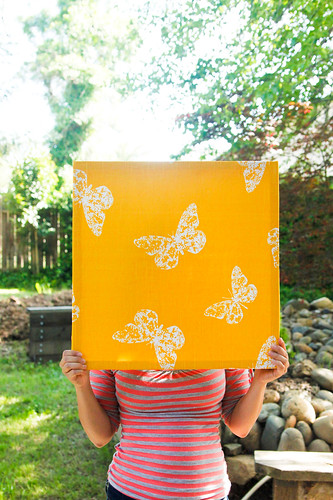
Thank you Priyanka for the photos of me.

Fabric Wall Art


I was at the fabric store and found a couple of really cool looking fabrics. However, I didn't know what I would do with them but I bought them anyway. One day, I just decided that I could stretch them over a frame and hang them on the wall. My sister took me to Home Depot and bought some 1"x2"x8' pieces of wood. Then she cut them into pieces and made some 16"x16" frames for me.
20140414-_MG_2326
Here's my sister slaving away while I was inside the house simmering a bad mood.

20140414-_MG_2328
Frame completed!

20140414-_MG_2335
We cut out the fabrics into squares, stretched and stapled them onto the frames.

20140414-_MG_2337
The corners were folded and tucked in neatly.

20140414-_MG_2344
Finished one frame!

20140414-_MG_2357
Finished with the other frame, too!

20140414-_MG_2361
Of course, Calvin also helped us out.

20140425-DSC_0556
These were hanging on the hallway entrance in my apartment. These were taken and hung up two years ago when I first moved in. I think it's time for a change.

20140425-DSC_0567
I hung these new fabric frames in place of the old strawberries/blueberries photos. I must say, I really like them. Thank you, Baotran for making these with me!