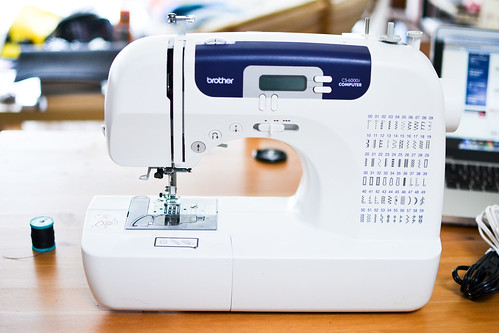
It's pretty.
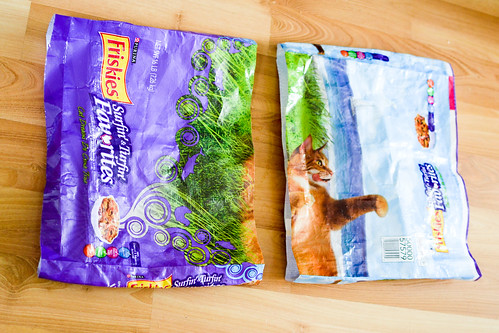
Before doing anything I washed the bag really well with delicious smelling soap because cat food tends to be stinky after a while. Then I just cut open the bottom (it was taped together) and cut the bag in half.
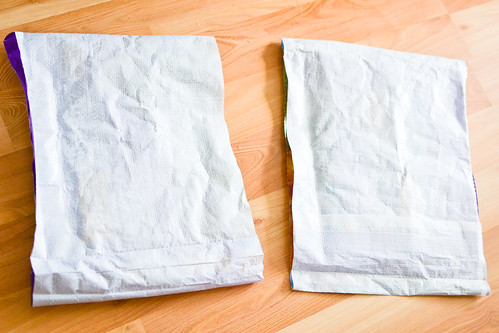
Turn everything inside out!
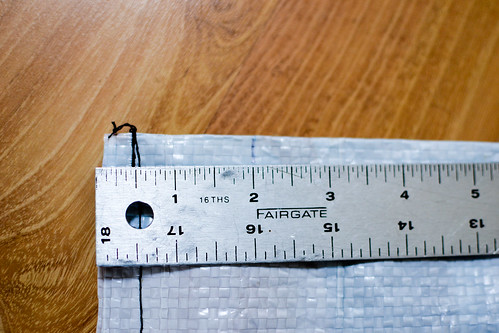
Sew a line about 1/4" from one end then make a mark 2" from the edge.
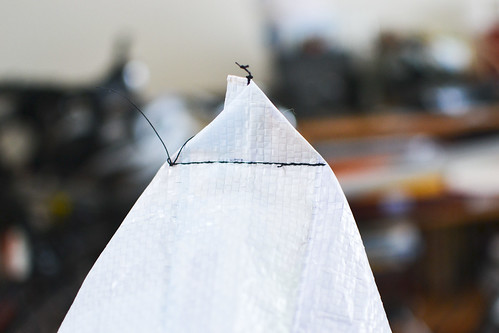
Open up the bags and fold it down. Sew a line across where the 2" mark was made. Do this for both corners. Repeat the same process for the other bag halve.
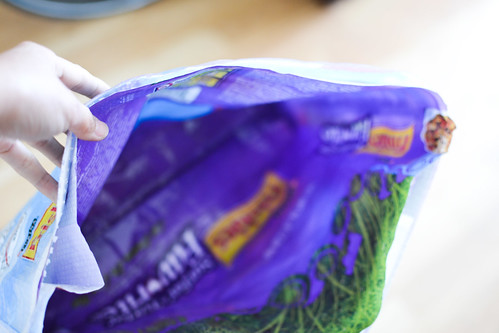
Flip one of the halves right-side out. Then stuff the inside-out halve inside the other one. That way both the inside and outside of the bag will now have prints on them.

Fold the lips down and sew the two halves together.
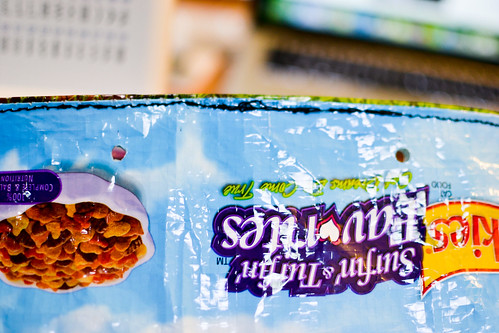
Punch two holes on each side of the bag.
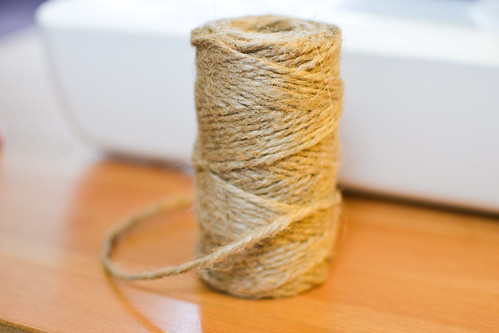
Grab some twine or some ribbons.
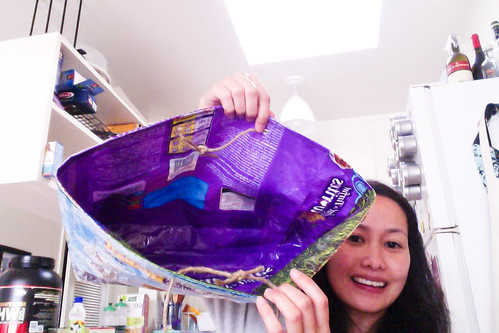
Loop the twine or ribbon through the holes and tie them together to create handles.
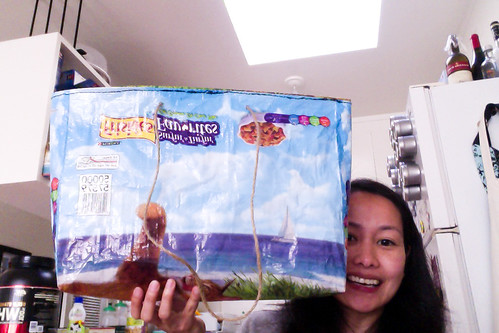
Display the newly made bag proudly and use it like a boss!
I decided to not do the cloth lining like the Instructables tutorial because I wanted something easy to clean and sturdier. So half of the original bag was used as a lining. Since I didn't have any wide ribbons for a handle, I went with the hole punch and twine method because I didn't want to figure out how to sew a thin, round, and hard piece of twine between the outer layer and the lining. Those are the only things I changed from the tutorial.
0 comments:
Post a Comment