This fan came with the house I purchased. It's an eyesore because the style is too old fashion. I thought about replacing it with a new fan or a chandelier, but both cost too much money and I wanted to keep a fan for summer days. Pinterest saved my sanity once again and I found some inspiration for painting it. It's a lot cheaper this way and I can get any look I want. Let's face it, most ceiling fans have a very old fashion look. If you're like me and not willing to spend a heinous amount of money on a new fan, you're stuck with these 80s fans. BUT you don't have to suffer with this look. There is still hope.
I spent:
$3.87 on Rust-oleum Gloss Sea Side.
$3.87 on Rust-oleum Flat White.
$9.99 on Mod Podge Pearlized Glaze.
$5.99 on a floral stencil (I can't find the link to this, but I got it at Hobby Lobby).
Here's the old fan. The glass is clear and I wanted it more frosted. I think the frosty look will make the whole fan less stark and more soft.
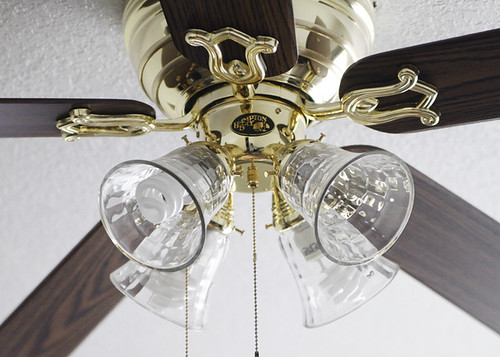
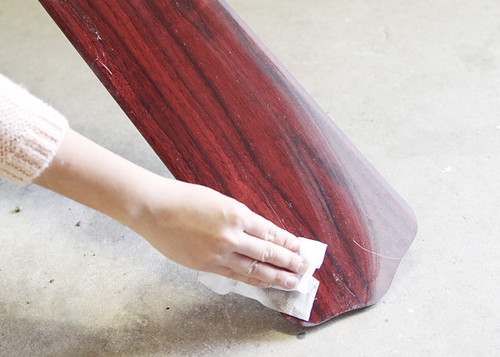
Take apart your fan and wipe it clean. The top of mine was seriously dusty.
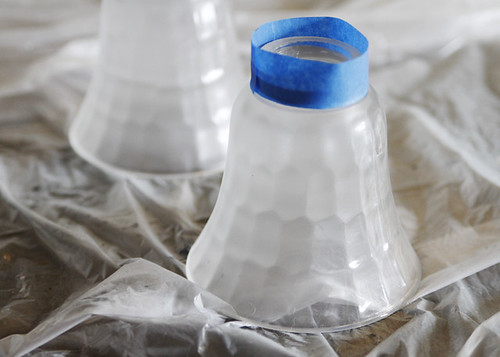
Spray the glass with Mod Podge Pearlized Glaze. This gives the glass a frosted and pearly sheen.
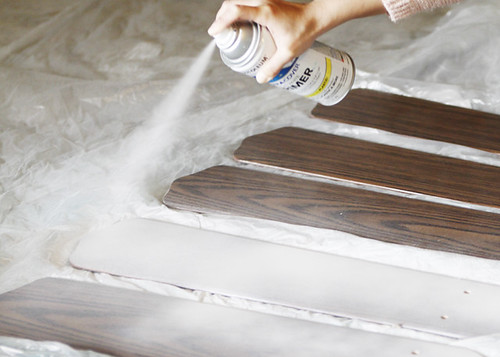
Spray the blades with two coats of Rust-oleum Flat White spray paint.
Paint all the metal parts with two coats of Rust-oleum Sea Side spray paint. Ignore the socks-and-sandals combo. O.O
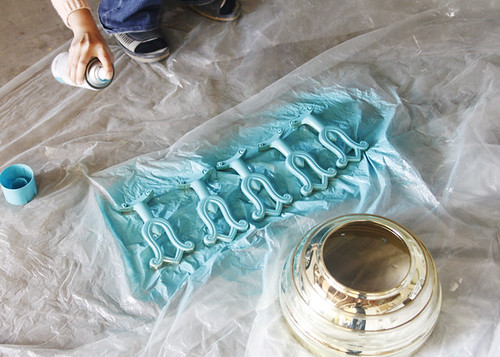
Make sure you tape all electrical parts so the spray paint doesn't touch it. Also wear a mask and gloves. I didn't do this and ended up with a lot of dust in my nose and paint on my hands. NOT GOOD.

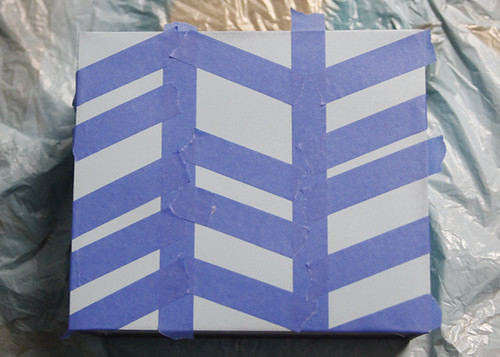
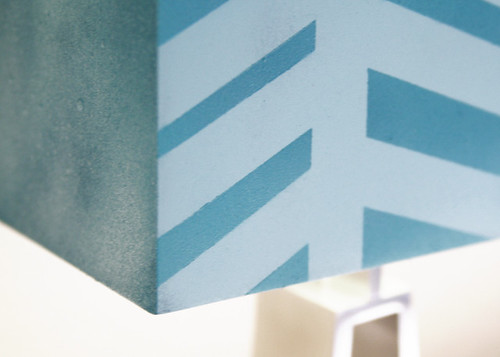
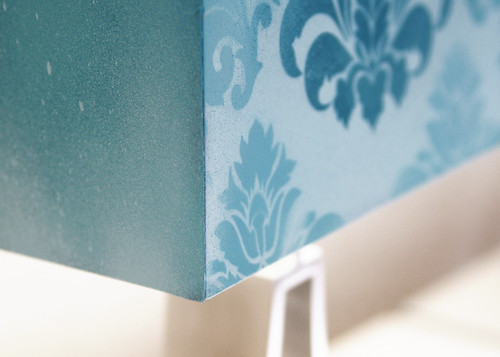
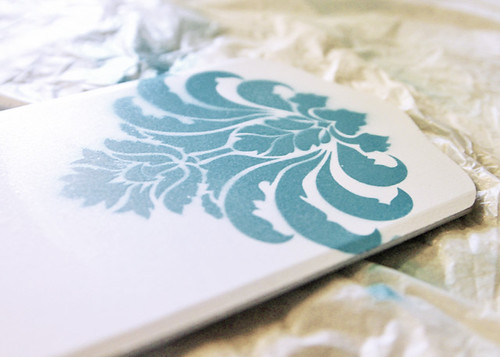
Put the stencil on top of the bottom of the blade and spray paint it with the Sea Side spray paint.
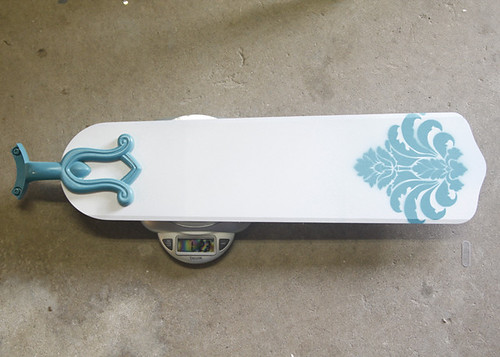
When all the paint is dry, WEIGH the blades. This is extremely important as too much difference between the blade weights will result in imbalance when the fan is in motion. Two of my blades came out to be 1 lb 2.3 ounces. Three blades were 1 lb 2.2 ounces. If some of your blades are lighter than others, spray paint a very thin coat on a small part of the blade to add a bit of weight.
FINALLY, put all your parts together! How pretty is this??
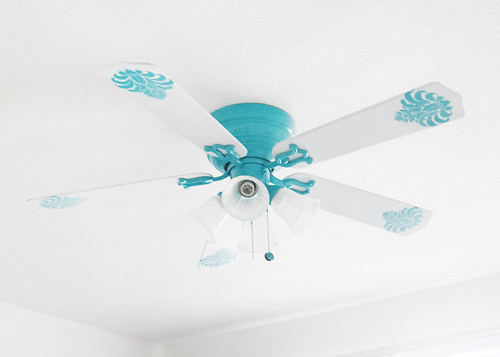
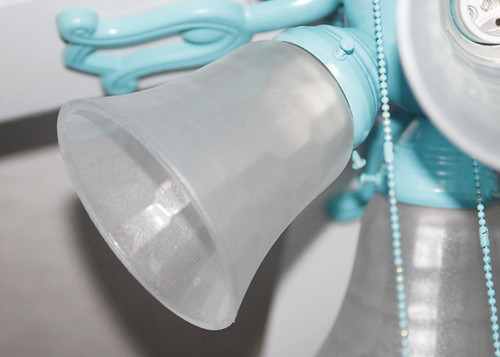
Close up of the glass. It's so beautiful. I love it!