Showing posts with label craft. Show all posts

Stick Art


I saw this Driftwood Seahorse thing on Pinterest and thought it was a cool idea. Then I saw that my dad was trimming the birch trees and were throwing away a bunch of small branches. I thought to myself that maybe I can try to be artsy and make my own woody wall art. By the way, my sister was the one who had the bright idea of using the birch branches. I would have just collected sticks on the ground.

So I dragged in a couple of branches and spent some good time trimming them down to bare branches.


I also cut out this silhouette from a random piece of cardboard. I only wanted to make a small one first to see if I'll like it before spending time on a large one.

Glue gun. Bam!

Cut branches and glue glue glue!

Done! I must say, I'm very happy with the result. However, I think it was a lot easier for me to cut the branches because they are still fresh and soft.

I showed the finished product to my parents and both of them thought that I made a swan. I can see that. Maybe it'll be an interpret art piece. Maybe I'll even hang it upside down!

DIY triangle shirt

One of my babies passed away a week ago. Since then, I've thrown myself into sewing as a distraction. Sometimes not having anyone to talk to or hug gets pretty lonely. Sewing helps keep me busy. Here's a triangle shirt I made for my sister. I saw her pin it on Pinterest and thought it wasn't too hard to make.

She's so purdyyy.


Here's what I did. It's not a thorough walk through, but I wanted to show how I figured this shirt out. I didn't use a tutorial so all my projects are mostly just me figuring these out.

I used a jersey knit for the inside and a chiffon for the flowy triangle.

For the inside:
Cut a tank top that fits you. I used half a yard because my sister is petite. It fits close to her body. I think making it looser would look cuter so use more fabric if you're not cheap like me. I used a tank top that fits her and used it to cut a new one. Hem and sew everything together EXCEPT for the neckline.


For the outside:
Get a piece of rectangular fabric and fold in half. Make sure that it's 2x longer than your desired length. For example, if you need the shirt to be 30 inches long (from shoulders to triangle tip at bottom), double that and get 60 inches.


Mark the middle of the fabric at the bottom (from the left side to the right side). That's where the tip of the bottom of the shirt will be. Draw a triangle from the top left corner to the bottom tip to the right top corner, as shown in the drawing. Lay the tank top under the triangle where you want. I placed it slightly to the right because I wanted an asymmetrical shirt. Cut a neckline into the triangle exactly like your tank top.


Combine:
Sew the triangle and tank top together at the neckline. Remember to hem the triangle fabric as well.


Fabric Wall Art


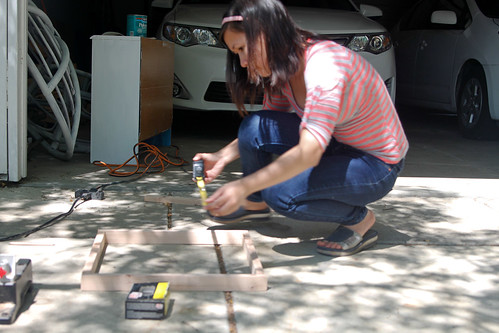
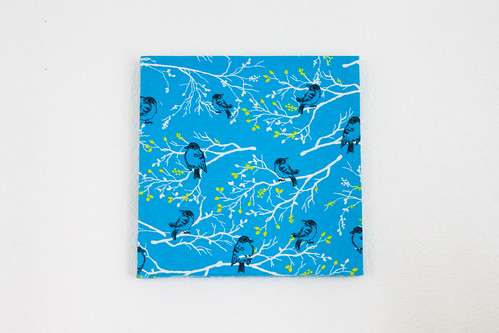
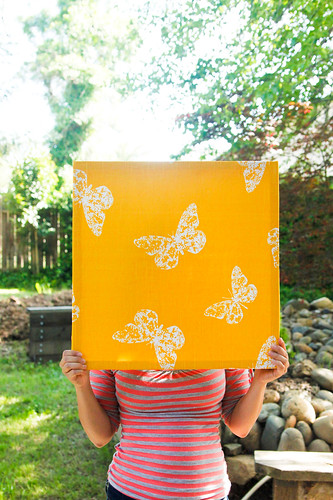
I was at the fabric store and found a couple of really cool looking fabrics. However, I didn't know what I would do with them but I bought them anyway. One day, I just decided that I could stretch them over a frame and hang them on the wall. My sister took me to Home Depot and bought some 1"x2"x8' pieces of wood. Then she cut them into pieces and made some 16"x16" frames for me.
20140414-_MG_2326
Here's my sister slaving away while I was inside the house simmering a bad mood.

20140414-_MG_2328
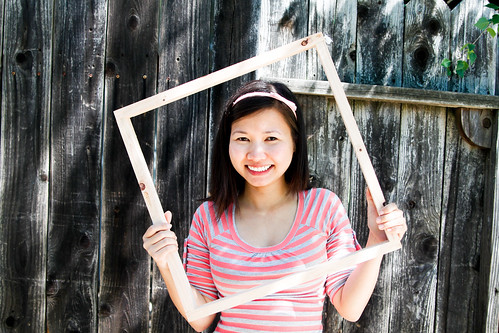
Frame completed!

20140414-_MG_2335
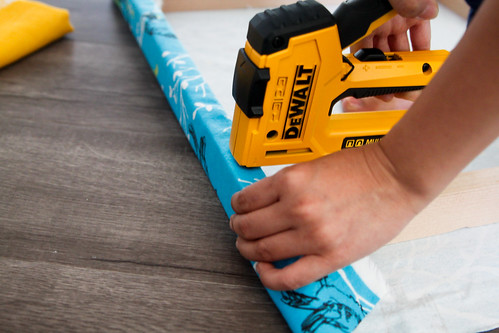
We cut out the fabrics into squares, stretched and stapled them onto the frames.

20140414-_MG_2337
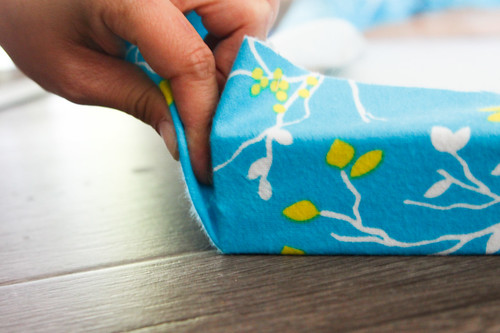
The corners were folded and tucked in neatly.

20140414-_MG_2344
Finished one frame!

20140414-_MG_2357
Finished with the other frame, too!

20140414-_MG_2361
Of course, Calvin also helped us out.

20140425-DSC_0556
These were hanging on the hallway entrance in my apartment. These were taken and hung up two years ago when I first moved in. I think it's time for a change.

20140425-DSC_0567
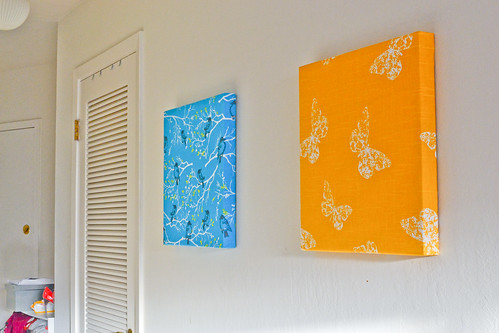
I hung these new fabric frames in place of the old strawberries/blueberries photos. I must say, I really like them. Thank you, Baotran for making these with me!

Abstract ocean painting

I found this photo on Pinterest from aimee-weaver and thought, "hey, we could do this for my parents for Christmas."


My sister has been looking for a painting of an open space for them with no luck. We haven't found anything worth blowing $50-100 over. I've calculated that if we do this ourselves, we could save a lot of money AND get what we want.

The trip to Home Depot got us a large 1/4" x 4' x 8' board. We got them to cut it for us into three pieces, one of those were a 4' x 2.5'. We also got simple wall paint: self-priming pure white, a deep blue and an aqua. I also got brushes from the dollar tree: 2 for $1 :D

Let's start.

Here's our board. We like the cracks, but if you don't, invest in better boards. We opted for the cheapest piece because we really like the texture and cracks. Plus, we wanted to save money :)


Take your board and sand it down. It'll help hold the paint and reduce splinters. We like the cracks, but if you don't, invest in better boards.


Once done, flip it around to the back and install a french cleat hanger. We also stuck cabinet cabinet cork pads on the hanger before installing the screws because they were a bit longer than the thickness of the board—we didn't want the screws to go through the board.


If you're weak like me, use a drill to pre-drill a hole before installing the screw. If you're strong like my sister, you can use your bare strength.


Ok flip it over. Start painting the self-priming pure white all over the whole board. This will act as a base.


Wait until your white paint is half way dry. Mix a small amount of white and blue paint to create light blue. Paint the light blue at the top.


Add blue.


Add aqua. Blend between blue and aqua.


Blend aqua down to the white at the bottom. Done! Hang!


Sorry for the bad photos! :(


My Very First Garment!


One fine day, I decided to jump headfirst into sewing a dress. I always said that I'll learn to sew clothes ever since high school and it has been at 16 years since I first started high school. So I grew some balls ovaries and bought a pattern, specifically this one by Simplicity. I also bought a cheap remnant silk piece because I figured my first project shouldn't be wasted on really expensive materials.

After many hours of cutting the pattern, laying out the pieces to fit my tiny remnant piece, learning to sew a french seam (because I don't have a serger), adjusting the pattern because I have a short torso and short in general, I created this monster!

Behold!
943694_10102302218717043_1531021449_n


Many more hours after this were devoted to pinning, ripping out seams, restitching seams, inserting zippers, hemming, and ironing. I also ran into a bunch of mishaps.

First problem: the zipper I bought previously was too short, I had to go buy a longer one or else it wouldn't open enough for my giant butt to wiggle in.

Second problem: I was an idiot and didn't buy an invisible zipper so the back is ugly. Please forgive this mistake, master of all sewing! I will always wear this dress with my hair down so people can't see my mistake.

Third problem: I didn't get bias tape and didn't spend the time to research it so the edges on the arm holes are wrinkly.

Fourth problem: I forgot to compensate for my itty bitty titties so I ended up with a lot of room in the bust area. I tried to fix this by making the back a bit smaller but probably will need to stuff my bra for it to look correct.

Fifth problem: My craftmanship resembles that of a 5-year-old. But soon, it will increase to the level of Forever21 clothes for sure!

If the previous five problems are overlooked, the dress is great. Tada! 


Close up of the bow my sister tied for me.

20130811-DSC_8453


Close up of the neck.
20130811-DSC_8454


Here's me looking so happy to finish my first ever wearable project!

20130811-DSC_8449


Lessons learned:
1. Shouldn't have try to make such a structured dress for the first time.
2. Shouldn't use thick silk because everything was hard and bulky.
3. Shouldn't have use a light and solid color since it was very hard to hide mistakes. My sister said a floral print fabric would work a lot better.
4. Making clothes is really fun!

Bag From A Bag


Every two weeks, I go to the airport and feed a colony of feral cats. Don't worry, the cats are fed every day, just not by me. I usually carry around this free reusable type of bag to store my cat food, canned food, and water. However, this reusable bag was dying. There were several holes in it already. Since I use up a 16-lb of dry cat food every month for these feedings, I have been collecting a lot of empty cat food bags. I knew I should use them for something but I didn't know what. One day, I saw this tutorial on how to make a bag out of old cat food bag. You know where this is going. But before we go anywhere, I got a sewing machine!

20130723-DSC_8424

It's pretty.


20130723-DSC_8423

Before doing anything I washed the bag really well with delicious smelling soap because cat food tends to be stinky after a while. Then I just cut open the bottom (it was taped together) and cut the bag in half.


20130723-DSC_8425

Turn everything inside out!

20130723-DSC_8427

Sew a line about 1/4" from one end then make a mark 2" from the edge.


20130723-DSC_8428

Open up the bags and fold it down. Sew a line across where the 2" mark was made. Do this for both corners. Repeat the same process for the other bag halve.


20130723-DSC_8429

Flip one of the halves right-side out. Then stuff the inside-out halve inside the other one. That way both the inside and outside of the bag will now have prints on them.


20130723-DSC_8430

Fold the lips down and sew the two halves together.


20130723-DSC_8435

Punch two holes on each side of the bag.


20130723-DSC_8434

Grab some twine or some ribbons.


20130724-Photo on 7-24-13 at 5.51 PM #2

Loop the twine or ribbon through the holes and tie them together to create handles.


20130724-Photo on 7-24-13 at 5.51 PM

Display the newly made bag proudly and use it like a boss!

I decided to not do the cloth lining like the Instructables tutorial because I wanted something easy to clean and sturdier. So half of the original bag was used as a lining. Since I didn't have any wide ribbons for a handle, I went with the hole punch and twine method because I didn't want to figure out how to sew a thin, round, and hard piece of twine between the outer layer and the lining. Those are the only things I changed from the tutorial.