Showing posts with label paint. Show all posts

DIY Complete Ceiling Fan Makeover

I'm on a roll. I've been doing projects like crazy. My brain is fried with too many ideas and not enough doing. Being alone and having a limited amount of dough, doing projects have been difficult. Here's a project I did without breaking the bank.


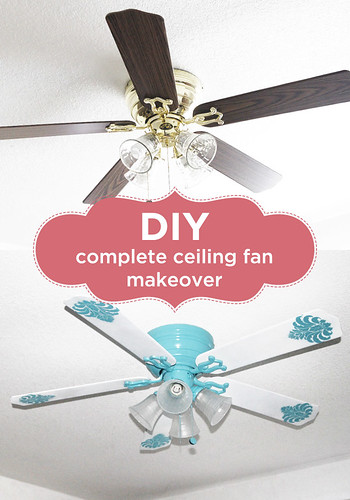
DIY complete fan makeover with spray paint

This fan came with the house I purchased. It's an eyesore because the style is too old fashion. I thought about replacing it with a new fan or a chandelier, but both cost too much money and I wanted to keep a fan for summer days. Pinterest saved my sanity once again and I found some inspiration for painting it. It's a lot cheaper this way and I can get any look I want. Let's face it, most ceiling fans have a very old fashion look. If you're like me and not willing to spend a heinous amount of money on a new fan, you're stuck with these 80s fans. BUT you don't have to suffer with this look. There is still hope.

I spent:
$3.87 on Rust-oleum Gloss Sea Side.
$3.87 on Rust-oleum Flat White.
$9.99 on Mod Podge Pearlized Glaze.
$5.99 on a floral stencil (I can't find the link to this, but I got it at Hobby Lobby).

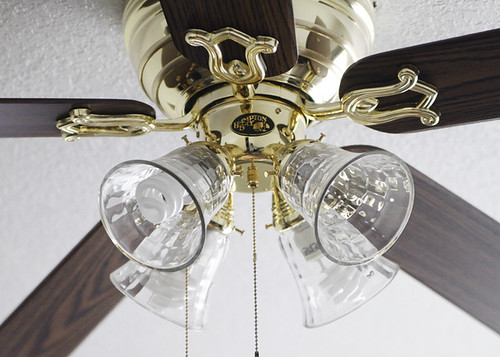
Here's the old fan. The glass is clear and I wanted it more frosted. I think the frosty look will make the whole fan less stark and more soft.
_MG_1975 copy

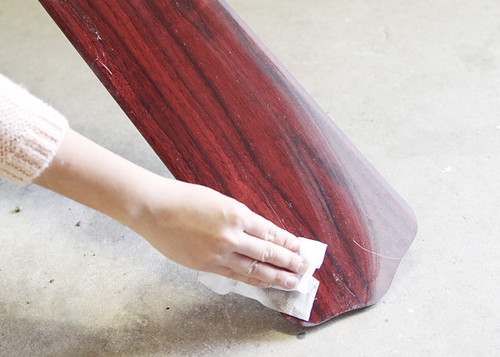
Take apart your fan and wipe it clean. The top of mine was seriously dusty.
_MG_2025 copy

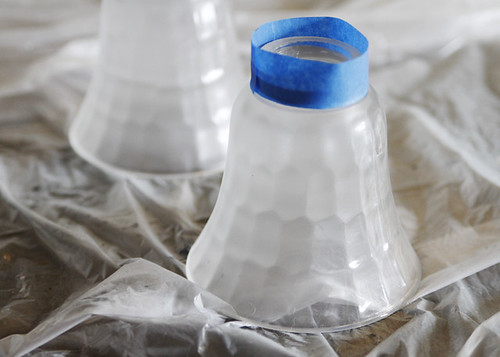
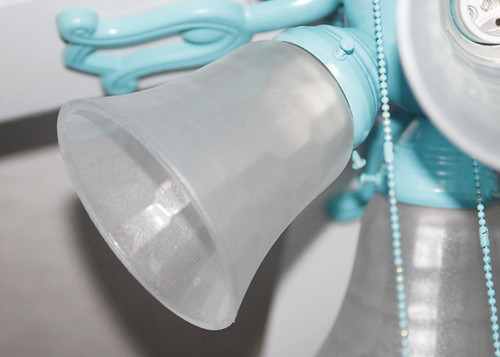
Spray the glass with Mod Podge Pearlized Glaze. This gives the glass a frosted and pearly sheen.
_MG_1977 copy

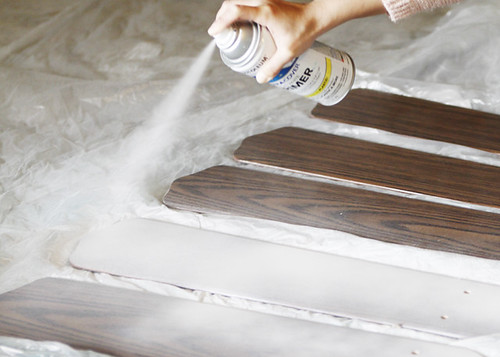
Spray the blades with two coats of Rust-oleum Flat White spray paint.
_MG_2030 copy

Paint all the metal parts with two coats of Rust-oleum Sea Side spray paint. Ignore the socks-and-sandals combo. O.O
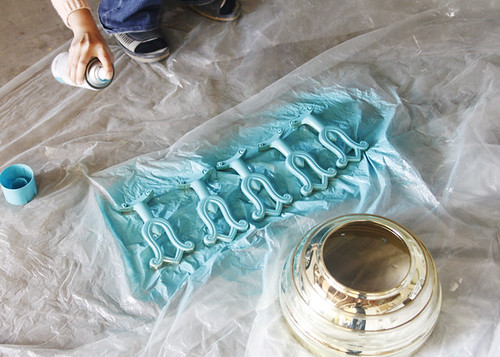
_MG_2043 copy

Make sure you tape all electrical parts so the spray paint doesn't touch it. Also wear a mask and gloves. I didn't do this and ended up with a lot of dust in my nose and paint on my hands. NOT GOOD.
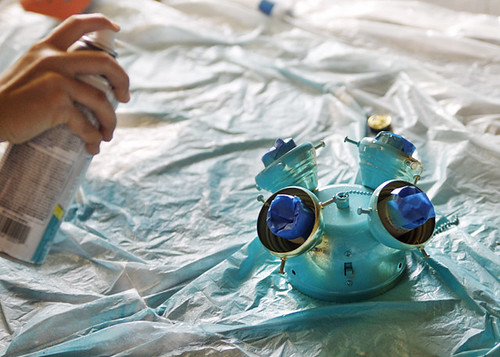
_MG_2059 copy

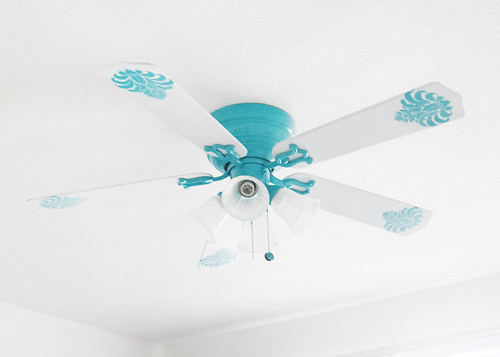
Put the stencil on top of the bottom of the blade and spray paint it with the Sea Side spray paint.
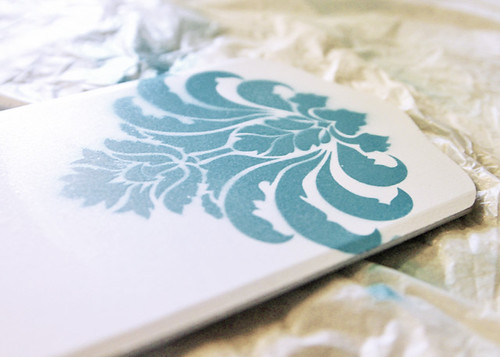
_MG_2069 copy

When all the paint is dry, WEIGH the blades. This is extremely important as too much difference between the blade weights will result in imbalance when the fan is in motion. Two of my blades came out to be 1 lb 2.3 ounces. Three blades were 1 lb 2.2 ounces. If some of your blades are lighter than others, spray paint a very thin coat on a small part of the blade to add a bit of weight.
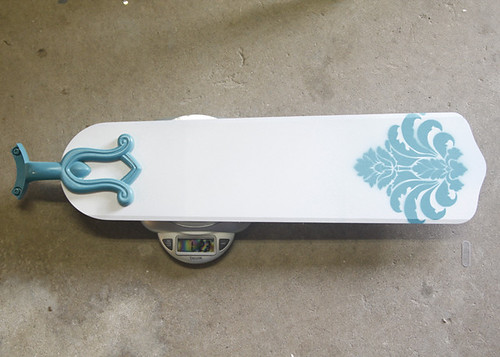
_MG_2072 copy

FINALLY, put all your parts together! How pretty is this??
_MG_2077 copy

Close up of the glass. It's so beautiful. I love it!
_MG_2096 copy


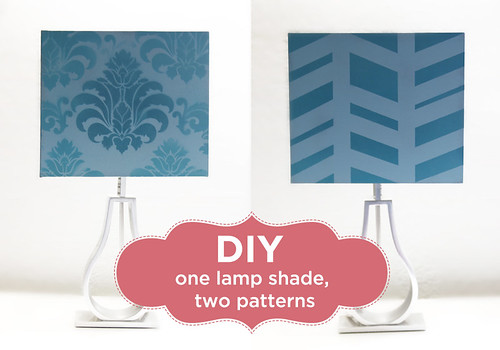
DIY paint Ikea lamp shade with two patterns

I purchased a pair of Ikea lamps a few months ago. I loved the color, then I changed my mind. They also don't go with the rest of my room. I spray painted these, each side with a different pattern so when I'm tired of one pattern, I'll just flip it over and add a new look to my room.


_MG_1986 copy

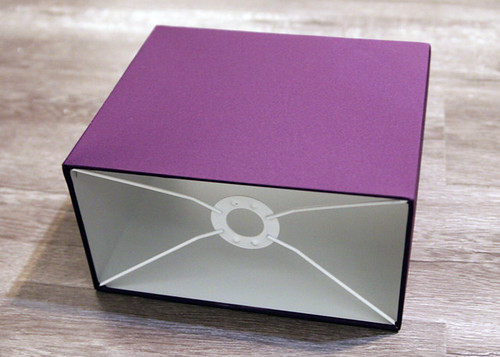
Here's the old lamp shade.
_MG_1872 copy

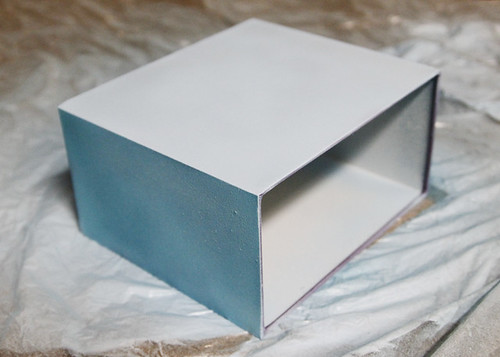
I sprayed painted the front and back sides with a light blue and the two sides with a turquoise.
_MG_1907 copy

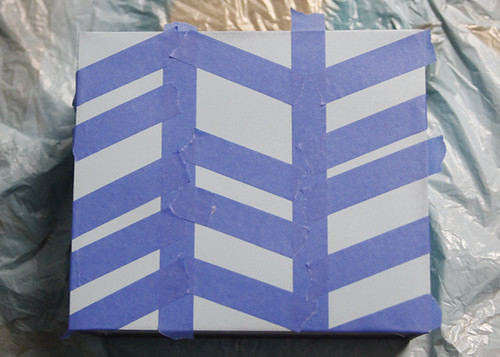
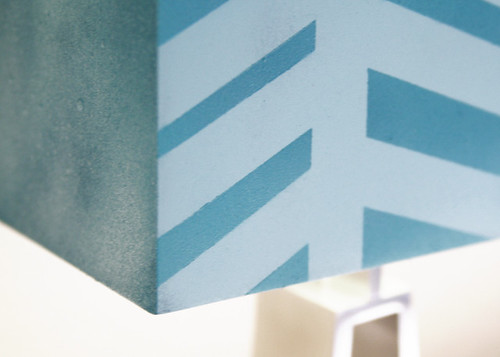
Wait until all sides are dry. Then use painter's tape to make chevron patterns on one of the larger sides of the lamp shade. I made mine imperfect with small and large lines.
_MG_1912 copy

Spray paint it a different color (in my case, I used the turquoise since that side of the lamp shade was previously painted light blue).

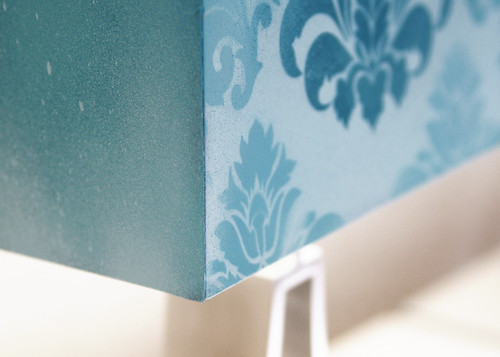
On the other side, use a stencil pattern of your choice. I used one from Hobby Lobby for $6. Be prepared to throw this away after a few uses because stencils are very flimsy and difficult to clean, no matter what the advertisement says.

Here are the final results. It's just one lamp shade with two different patterns on the front and back.
_MG_1986 copy

_MG_1990 copy

_MG_1988 copy

P.S. I made the splatter on the sides more noticeable because I like the texture. It adds dimension. :)

Please comment and pin :D


Easy Papasan Footstool Makeover


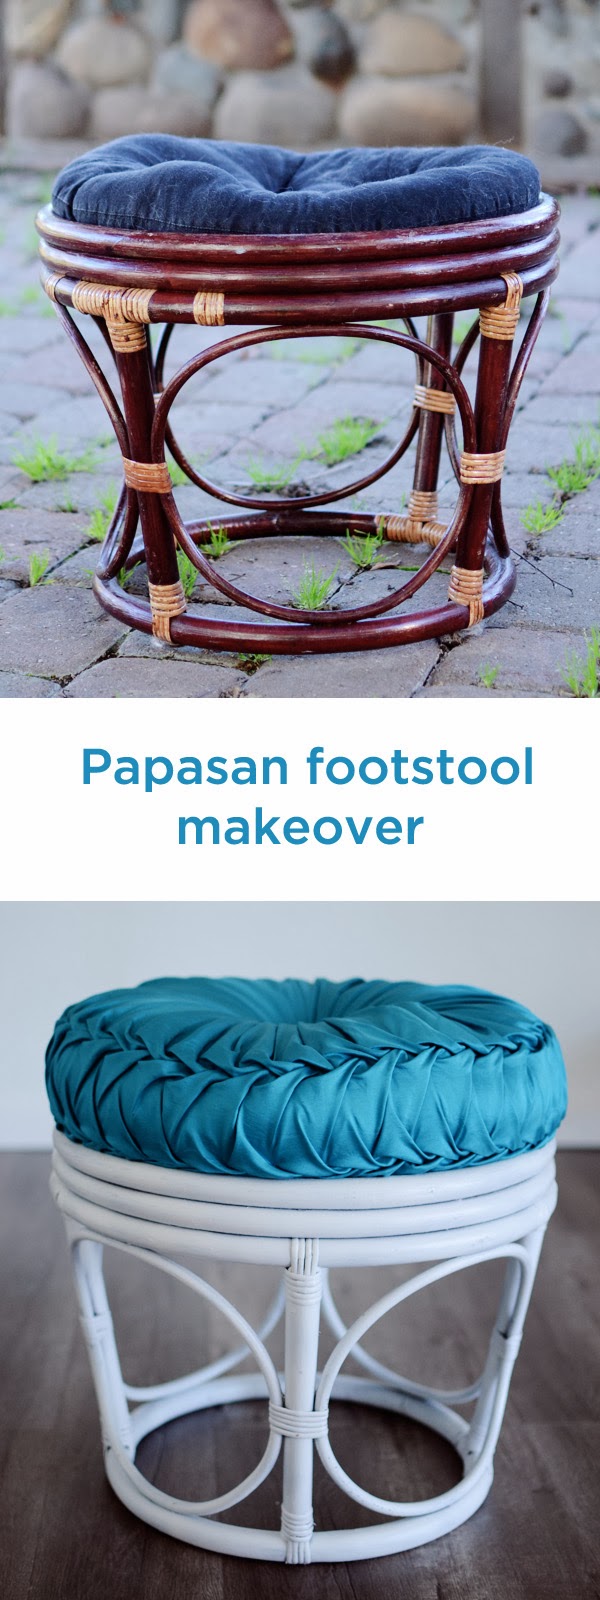
My sister got me this stool along with a used papasan on Craigslist. I loved them—until my cats took over them and made them furry. Unfortunately, washing only made them faded, but doesn't get rid of the furry. So after reading and pinning a bunch of DIY painting tutorials, I've decided I'll give these a makeover. I started with the footstool first just in case I mess up.

Lo and behold: the old footstool. It's lumpy. It's hairy. It's gross.


This is made out of wicker, so I gently sanded it down and wiped with a dry paper towel.


Then I sprayed two coats of Rust-oleum Flat White Paint and Primer. Easy breezy ...


I didn't like the cushion AT ALL and had a brilliant idea to replace it with a pillow. Okay maybe not so brilliant, but still cheaper than a real footstool cushion, and wayyy prettier. Finding the cushion proved to be more difficult. I went to two Burlington Coat Factory and a Ross before I stumbled on something I absolutely love. Plus, I didn't have food all day long so I was miserable by the time I found this pillow.

Cushion. Turquoise. Pillow section. 16 inches diameter (I measured the footstool before going to the store). $11.


Just place the pillow on top and voila. Done. Ten times better than the old footstool and takes minimum effort (except for finding the pillow).


Remember to pin this post :)


Chalk Wall - It Makes Writing on Walls OK


My sister has this room which was painted pink. It wasn't an ugly pink. It was just pink. She wanted to use it as a working studio or a craft room of some sort. She made the mistake of asking me for ideas on what to do with the walls. I said: LET'S MAKE ONE OF THE WALLS A CHALKBOARD!

Yay, right? Wrong! I mean, we didn't think it was wrong at first. We said: Whoo, that's awesome! Let's go pick an awesome color! And so we did. We picked an awesome grey color that would go great with the floor. But then things got tricky. Really tricky. The existing wall was texturized. We can't have a textured chalkboard! Nooooo. So my sister was the hero. She got a sander and she sanded that shit down. I think her lungs' lives just got shortened by a good 10 years due to inhalation of paint/wall dust. Oh, I forgot about lead poisoning, too. Oh man! My sister has stories on how much she suffered for that wall that could keep a whole weekend by the campfire entertaining.

Since I've always been a lazy butt, I only help out with the easy stuff like putting paint on the already sanded and primed wall.

Day 16
Ah, this was the fun part. We had to mix non-sanded grout in with the paint so that chalk would later be erasable. Fun, no? Well, we um... didn't have a paint mixer and were too lazy to walk over to our parents' place to grab the drill...so my genius sister created this contraption.

20140202-DSC_0006
Et, voila! Sticks taped to the stand mixer. It didn't work super well because the sticks were too skinny, so we switched it over to spoons later on.

We succeeded in mixing it enough that there were minimal chunks of grout in the paint. Then we painted a beautiful wall which we had to destroy immediately by smearing it with chalk. Why? Because someone told us that the chalk wouldn't erase easily if we didn't prime the wall first with chalk. So, we primed it with chalks.

20140203-DSC_0016
This part was actually really fun. Destroying something so beautiful was fun.

20140203-DSC_0019
We took a break to draw a kitty!

20140203-DSC_0020
We even took a break to take this picture of me standing in front of pain and destruction!

20140203-DSC_0023
Once the wall was completely covered in chalk, we had to wipe that stuff down so it would be nice and clean to use. This wasn't very fun.

Day 17
Oh yes, we used it and it was AWESOME SAUCE!